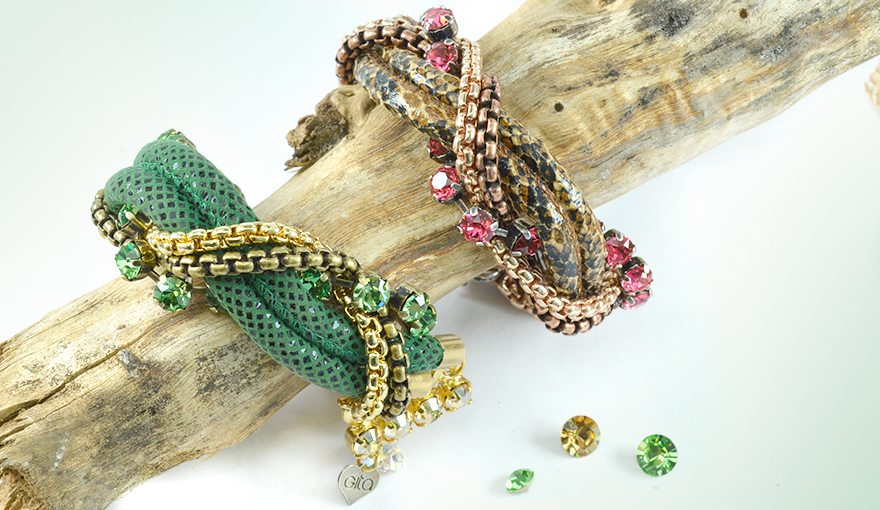
Step 1: preparing your materials
Prepare your work environment. Organizing your tools and materials will help
you work faster and more efficient.
Cut the chains to 18cm long pieces.
Cut two pieces of green leather 16cm long each.

Step 2 : setting the stones
Start by setting the 29ss stones in the cup chain.
Place the stone in the center of the stone setting and with the help of the setting tool bend the prongs towards the stone in order to embed it.

Also set the 29ss stones in there place on the connectors.

Step 3 : connecting one side of the bracelet
Use 5mm jump rings and hang the cup chain on the big 8mm jump ring on the connector.
The chains are connected with 6mm jump rings to the connector.

Apply small amount of E6000 glue inside the metal end and slip the leather into the metal end.

Now, hang the leather with 6mm jump rings on loops of the connector.

Step 4 : creating the braid
Wait until the glue drys before starting this part.
Start with the leather cords and make a braid with the cup chain and chains.

Cut the leather so it will be the same length of the chains.

This is the tricky part, to connect the ends of the chains, cup chain and leather cords to the connector, and keeping the braid together.

Step 5 : closing the bracelet
Use small 6mm jump rings to connect the small loops on the connector to the clasp on one side and to a big jump ring on the other side.

Hang the metal label and Swarovski stone on one side of the bracelet.

Well done!
The bracelet is ready!
Enjoy your new beautiful Swarovski bracelet.
Gita team.
