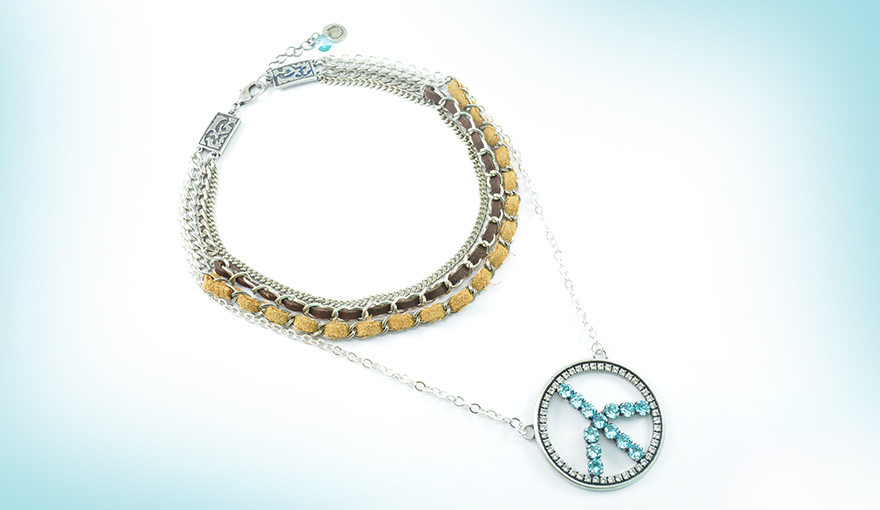
Step 1 : Preparing your materials
Prepare your work environment. Organizing your tools and materials will help
you work faster and more efficient.
9-7mm Oval Flat loops chain – two pieces of 23cm long each.
Nickel flat gourmet Chain – 31cm long.
Silver oval loops chain – two pieces of 20cm long each.
Flat Gourmet chain 5mm:
Antic silver chain - two pieces of 5cm long each.
Nickle chain - two pieces of 5.5cm long each.

Step 2 : Threading the leather
Using a chain with space between the loops will be great to thread the leather into.
In this necklace will be using two colors of leather cords.

Cut the end of the leather with the cutting tool, so it will easily go through the loops of the chain.

Slip the leather in the first loop of the chain, with an extra of 6cm more then the length of the chain.

This is the way to hold the chain and the leather in place so that they will not turn or twist while threading the leather on the chain.

Easily slide the leather from the front of the loop and then to the next loop from the back side.
Don't pull the leather too tight because it will make the chain shrink and stiff.

Leave 1cm of leather at the end, and use the cutting tool to cut off the extra leather.

Apply a little bit of E6000 glue on the leather and fold the end of the cord so it will be glued on the back side.

Glue both sides of the leather on the last loop of the chain.

Step 3 : Connecting the necklace
After preparing both chains with the two leather cords, connect them to the small pieces of flat gourmet chains on each side with 5mm jump rings.

Connect the peace pendent wit 5mm jump rings to the silver oval loops chain.

Open 6mm jump rings and hang the nickel flat gourmet Chain and the chain with the dark brown leather to the first loop on the metal connector.

The oval loop chain and the chain with the brown leather are connected together to the second loop on the connector.

Hang the clasp on one side and a big8mm jump ring on the other side.

Step 4 : Setting the stones
Place the stone in the center of the stone setting and with the help of the setting tool bend the prongs towards the stone in order to embed it.

wonderful!
The necklace is ready!
Enjoy your new beautiful Swarovski necklace.
Gita team.
